

Tuesday, October 28, 2014
The Magritte Project
Draw the Shape
ADD your Apple
- Select a distinct interesting human shape (there are a few saved to the share folder called "Magritte").
- Create a NEW DOCUMENT
- FILE> PLACE Your chosen shape into your document.
- DOUBLE CLICK on the Shape layer and select TEMPLATE.
- CREATE a NEW LAYER and trace your shape using the pen tool.
- Remember, that if you CTRL click on the VISIBILITY MODE eyeball then your trace becomes an outline around.
Add the Blue Sky
- Then CREATE another NEW LAYER
- FILE > PLACE your blue sky file.
- OBJECT>TRACE OUTINE and experiment with a few colour settings. [Hint- easier with the preview checked].
- If you need to move the sky below the shape, drag the layer on the LAYER PALETTE below the one you want on top.
- CREATE another NEW LAYER
- Draw a square with the RECTANGLE tool over the whole image.
- Open the SWATCH LIBRARY>PATTERNS
- Select a SWATCH collection that you are interested in incorporating into your design. Make sure it isn't too busy or distracting.
- Select the rectangle shape and SELECT the pattern you want to apply.
- Open the PATHFINDER box in the WINDOW menu.
- SELECT the shape that you drew on previous layer.
- SHIFT+SELECT the rectangle. So both the rectangle and shape are selected.
- EXCLUDE the shape from the Rectangle.
- Remember the order of the shape and the rectangle are important.
- The shape should be punched out from the one below.
Save
- FILE> SAVE AS "Magritte" your document as an ILLUSTRATOR DOCUMENT in your student file.
- Open the Apple file.
- SELECT ALL.
- OBJECT> GROUP all of the objects on the apple file.
- COPY
- PASTE into your "Magritte" file
Wednesday, October 22, 2014
Post your Apple

Exporting your Illustration:
- FILE>EXPORT your illustration as a JPEG
- [SAVE into your student account]
- In the JPEG DIALOGUE OPTION Box: Select "RGB" in COLOR MODEL.
- Use Mozilla FIREFOX
- Sign into BLOGGER and find your blog.
- Create a "NEW POST"
- Title your post with a succinct recognizable title.
- Select your cursor in the post box.
- Click on the INSERT IMAGE icon.
- UPLOAD> CHOOSE FILES
- Find your JPEG that should be saved in your file.
Then help others in the class who are behind.
Tuesday, October 14, 2014
Rene Magritte

Illustrator Assignment
We are going to create illustrations combining Rene Magritte's surrealist ideas: an apple, a cloudy background, and a man with a bowler hat (but you can choose a silhouette of your choice to personalize your combination).Put them together to create a Magritte-esk Illistration.
Using the "Pathfinder/Shape" Tool
We are going to play around with combining shapes in Adobe Illustrator
- Draw two distinctly different shapes (star and a circle),
- Give the shapes two distinctly different colours, no line/stroke.
- Overlap them slightly.
- Then copy the shapes three times to make four combinations on your page.
- Open the Pathfinder pallet from the Window menu.
- Select the 1st shape combination- either drag your cursor over both or click one and shift click the other.
- Select the "Unite" shapes.
- Type the Pathfinder shape effect that you used underneath.
- Try the other three in the Shape Mode pallet: Minus Front, Minus Back, Exclude with the other shape combinations.
- Save your file as "Shapes" practice.
Friday, October 3, 2014

Adding a Tree
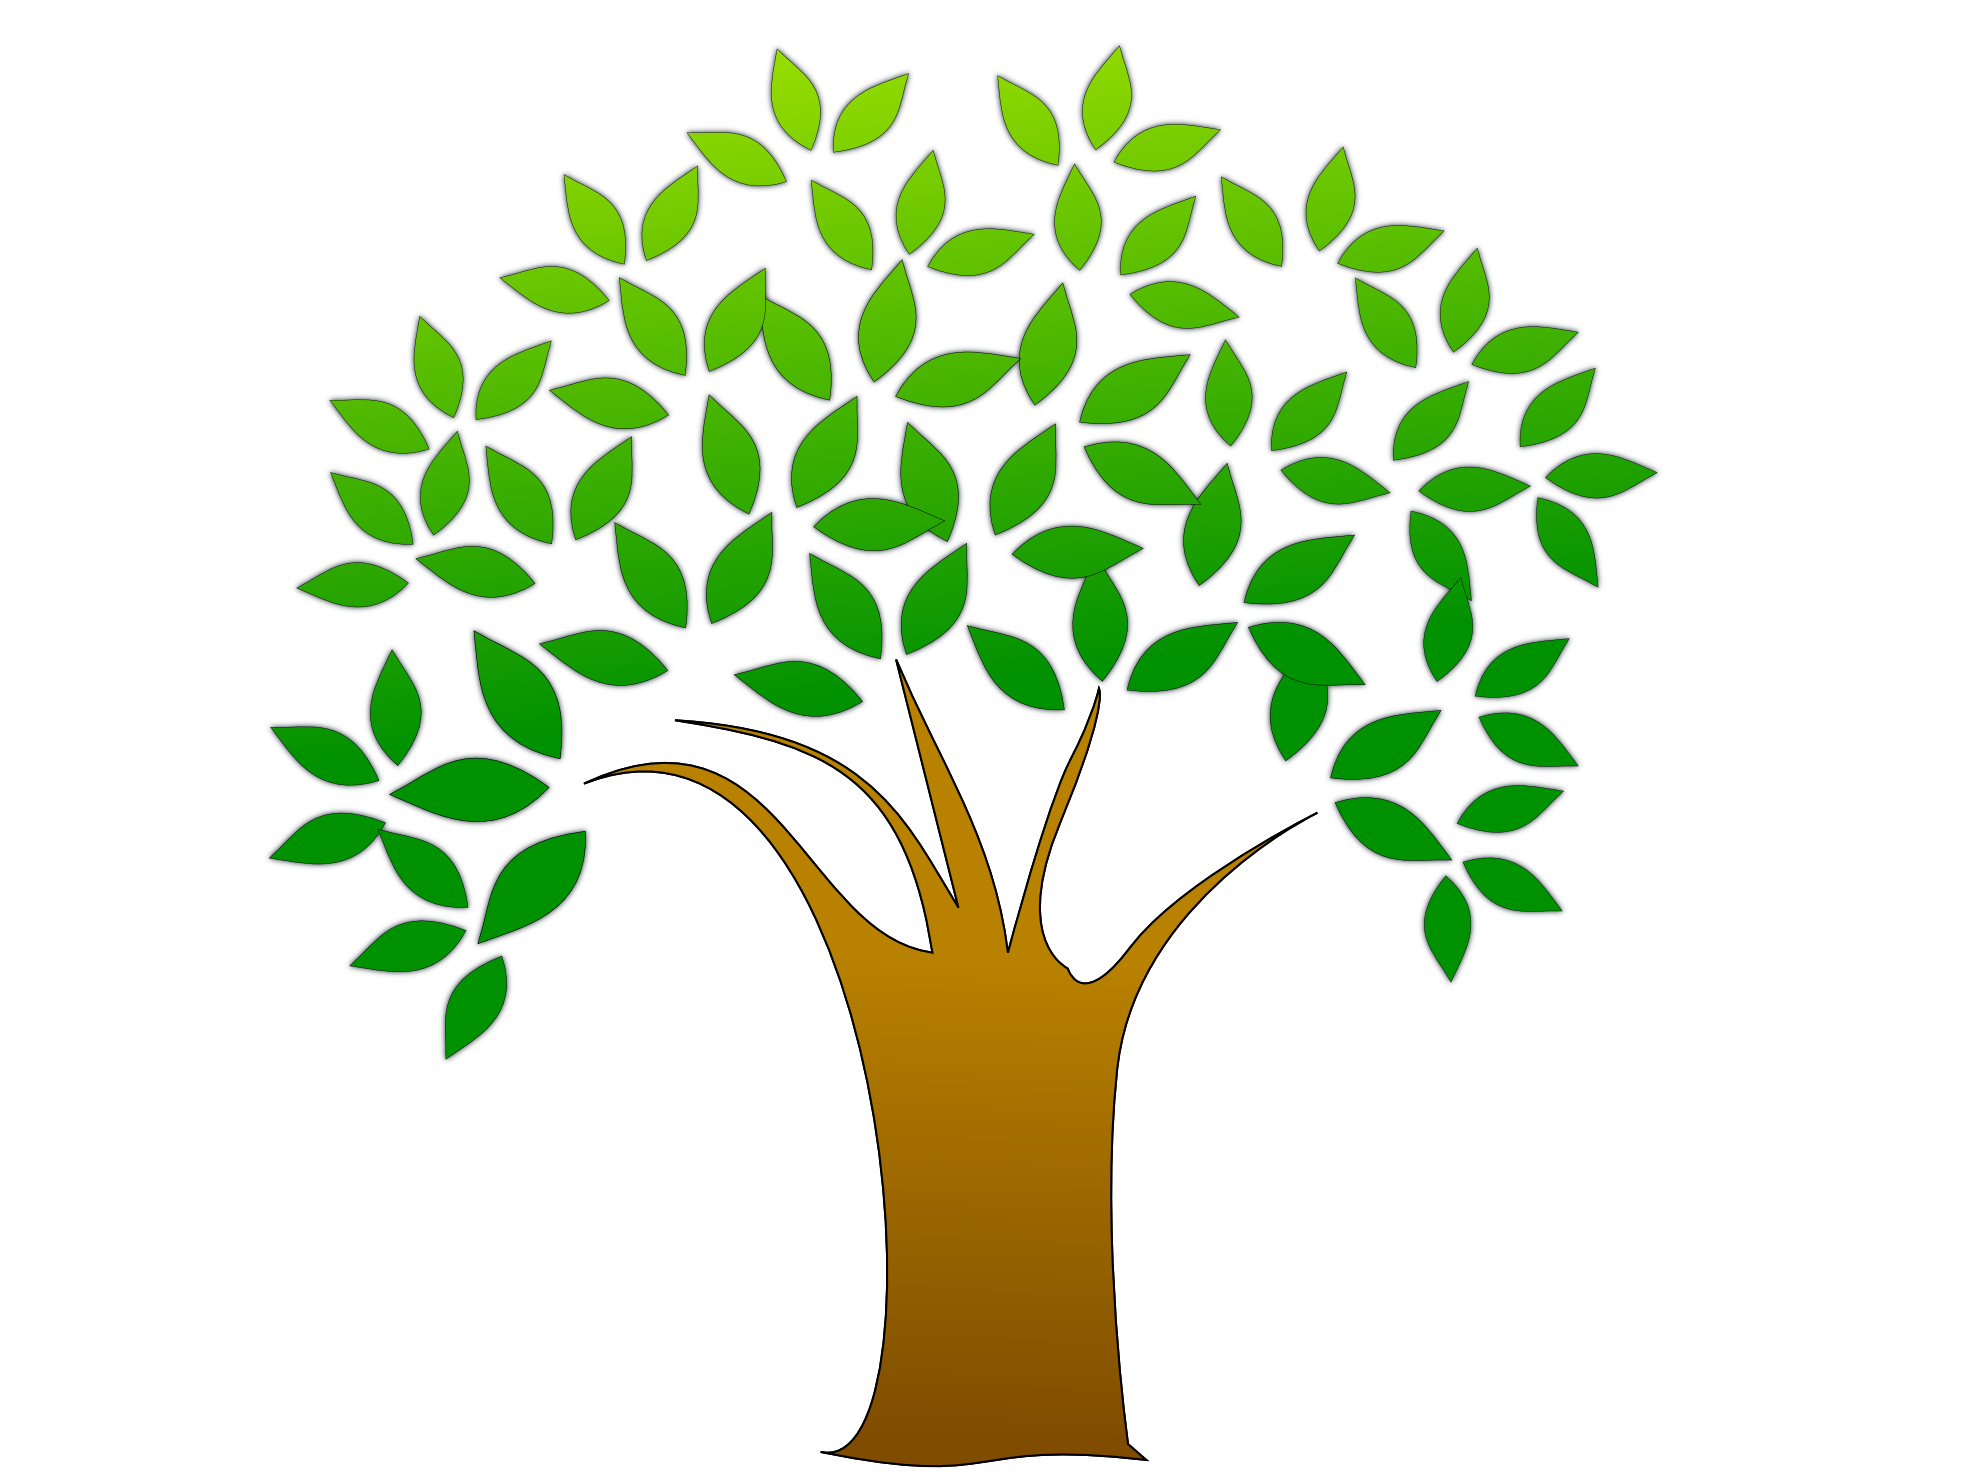
Once you have finished drawing your pear and adding a gradient fill, you are to open a new file.
Then FILE> PLACE> tree image from the share folder.
Add a new LAYER from the layer pallet from the WINDOW menu.
And Re-draw the tree in your own style using the PEN tool.
Colour and add fill.
Be creative, have fun.
Subscribe to:
Posts (Atom)