Friday, September 13, 2019

10 Self- Directed Challenge

You are to choose a medium, concept, or program to challenge yourself in a direction that you are interested in. The project is up to you. The level of challenge is up to you, but make sure that you are learning something that is valuable to you.
  1. Brainstorm- Find inspiring examples/visual ideas and post to your blog.
  2. Select your favorite idea- Identify what you are going to try. Make sure that you choose something that challenges you. Try something new.
  3. Plan your project- Write or sketch out how you are going to teach yourself how to learn the techniques. Write a proposal about what you are hoping to learn and achieve throughout this project. Note how challenging you think it is for you (maybe on a scale from 1 to 10).
  4. Research ways to do the project. Find a tutorial or steps to try.
  5. Post tutorial web address(es), rate the tutorial. How was it useful for you? 
  6. Start your project.
  7. Describe your process- write notes while you are learning the program/how to do or teach others. Post an update of your progress each class.
  8. Post your finished work. 
  9. Reflect on your process
  10. Teach others how to do the techniques.

  1. Illustrator
Photoshop
Animate

Thursday, September 5, 2019

Illustrator Norval Morrisseau

Norval Morrisseau was an Anishinaabe Aboriginal Canadian artist. Best known for his paintings of mythical tableaux, his narrative works of figures and animals were painted in vibrant, fluorescent colors featuring thick black outlines akin to stained glass windows or woodcuts. “These paintings only remind you that you're an Indian. Inside somewhere, we're all Indians,” the self-taught artist once said. “So now when I befriend you, I'm trying to get the best Indian, bring out that Indianness in you to make you think that everything is sacred.” Born on March 14, 1932, in Beardmore, Ontario, he achieved widespread national success throughout his artistic career, garnering major commissions such as a large mural created for Expo 67 in 1967, which expressed the political dissatisfaction of the First Nations People of Canada. Morrisseau also regularly exhibited and sold his work in various Canadian galleries until his death in Toronto on December 4, 2007. Today, his work can be found in the collections of the Royal Ontario Museum, the National Gallery of Canada, the Dennos Museum Center, and the Art Gallery of Windsor, among many others.

Borrowed from:


Pen Tool Tutorial

Pen Tool Tutorial

The Path Tool will be the hardest tool to learn in Illustrator. It usually take weeks to learn and beginners always end up in frustration while figuring how it works. So don’t give up and practice it every day and soon you will be able to draw any shape.

Drawing Straight Lines


Select the Pen Tool and click once to add the first anchor point. Move your mouse to the next position and click again to create the second point. The two anchor points will be connected together. Continue doing this to create a W shape as shown.To draw a new line, click the Selection Tool(The Black Arrow Icon) and click back the Pen Tool again.

pen tool in illustrator

Closing a Path


To close a path, click back the starting point to close the shape.

Closing a path

Drawing a Curved Line


Click and drag to put out the handles to create a smooth anchor point.

pen curve

Changing Path Directions


Click and drag to create a smooth anchor point. Without releasing your mouse, hold Alt/Option and drag the handle up to change the path direction.

pen curve

Drawing a Circular Path


Click and drag to create a smooth anchor point. Continue adding points and click back the starting point to close the path.

pen circle

Adding Anchor Points


With the Pen Tool selected, go near the path where you want to add a new anchor point. A plus sign will appear next to the pen, click on the path to create a new anchor point.

add anchor points

Removing Anchor Points


To remove point, move your Pen Tool close to an anchor. A minus sign will appear next to the pen. Click on the anchor point to delete it.

removing anchor points

Converting Anchor Points


To convert a smooth anchor point to a sharp anchor point, move your Pen Tool near the anchor and hold Alt/Option and your Pen Tool will change to an arrow shape. Click on the smooth anchor to convert it to an anchor point. Click and drag on the anchor point again to change it back to a smooth anchor point.

convert anchor points

Moving Anchor Points


Select the Direct Selection Tool and click and on anchor you want to move. Click and drag to change positions.


Changing Anchor Directions


With the Pen Tool, you can quickly change the anchor directions. Hold Ctrl/Command to quickly change the Pen Tool to Direction Selection Tool. Select the anchor point you want to edit. The anchor handle will appear. Now release Ctrl/Command and hold Alt/Option to change it to Convert Anchor Tool. Click and drag the handles to change the direction.

change anchor handle

Drawing an Old Key


After learning the concepts of how the Pen Tool works, we will apply what you have learnt to create this ancient old key shape. For the right angles, hold Shift before adding anchor point to constrain it to 90-degree.

old key

old key 2

Final Illustration


This is the final illustration.

final key

Tips for Using Pen Tool

  • Use as little anchor points your need to create your shape
  • Add anchor points where there is a change in direction of the line/curve
  • Use shortcuts like Alt/Option or Ctrl/Command to quickly swap to other tools to edit your path
  • Hold shift to lock your path while adding new anchor point for 45-degree increments.

More Training for Pen Tool


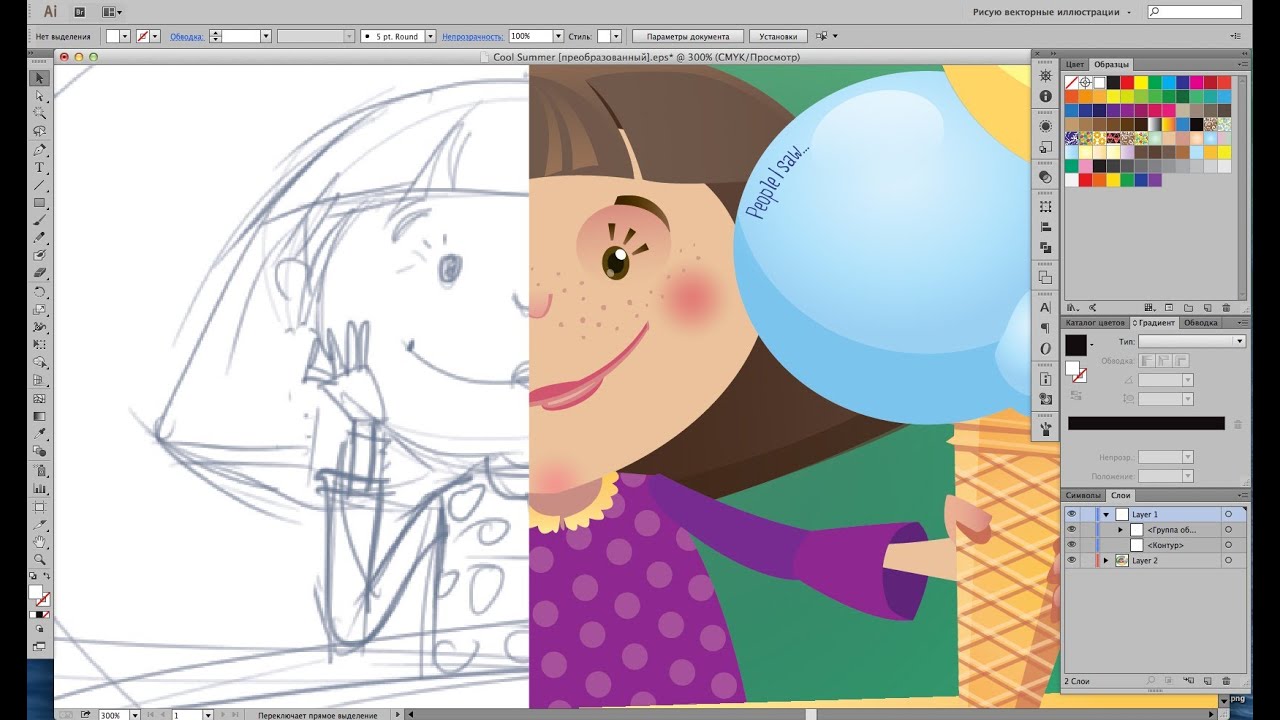
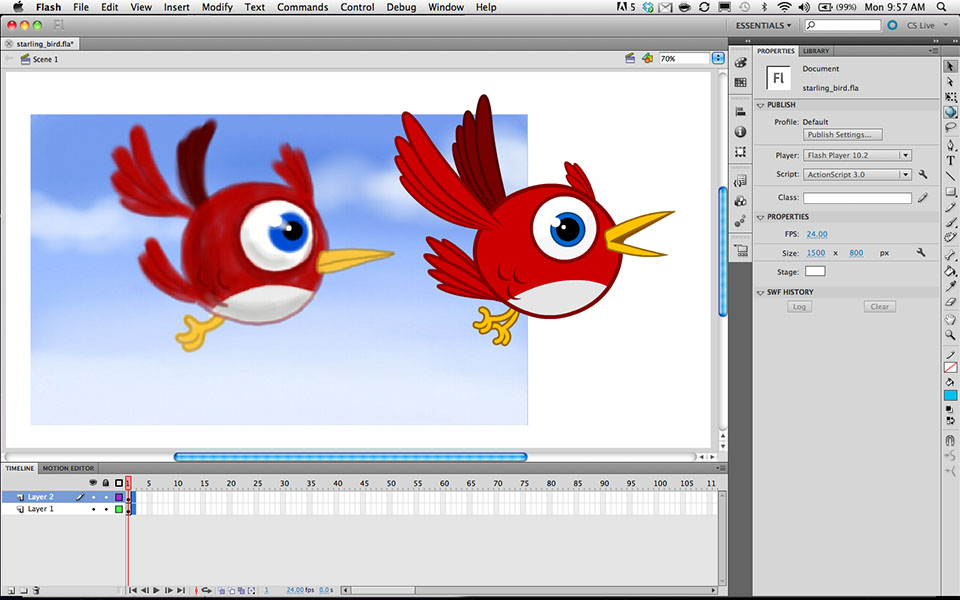
Here are some more exercises for tracing using Pen Tool. Save it to your desktop and place it in illustrator by going to File>Place. Select the image and make sure Template is ticked. The image will now be faded and placed as a template. Now you can start practicing...

basic shapes

complicated shapes

Welcome to Computer Arts 9/10


Computer Art is any art in which computers play a role in production or display of the artwork. Such art can be an image, sound, animation, video, video game, web site, algorithm. At LFAS Computer Arts students will expand their computer skills through visual communication while learning basic design skills and how to use design software.

Digital artists are visual communicators and storytellers. They use strategic thinking and processes to communicate ideas: inspire, inform, educate, and/or entertain in 2D and 3D media. Students will be challenged with various design tasks and assignments to solve problems and incorporate design in a creative way while learning how to use the listed programs. 


Course Outline:

Term 1- Students will learn/review basic functions of the standard computer art programs:


  • Illustrator 
  • Photoshop


  • Flash Animation

  • Term 2- Then students will develop a project plan and a self-directed guideline to learn how to use the tools to create something that they are interested in making and learn programs that are relevant to them.