Monday, January 4, 2016

Photoshop Portraits Project Check List

Here is a list of all of the Photoshop projects; make sure that they are completed and posted to your blog.
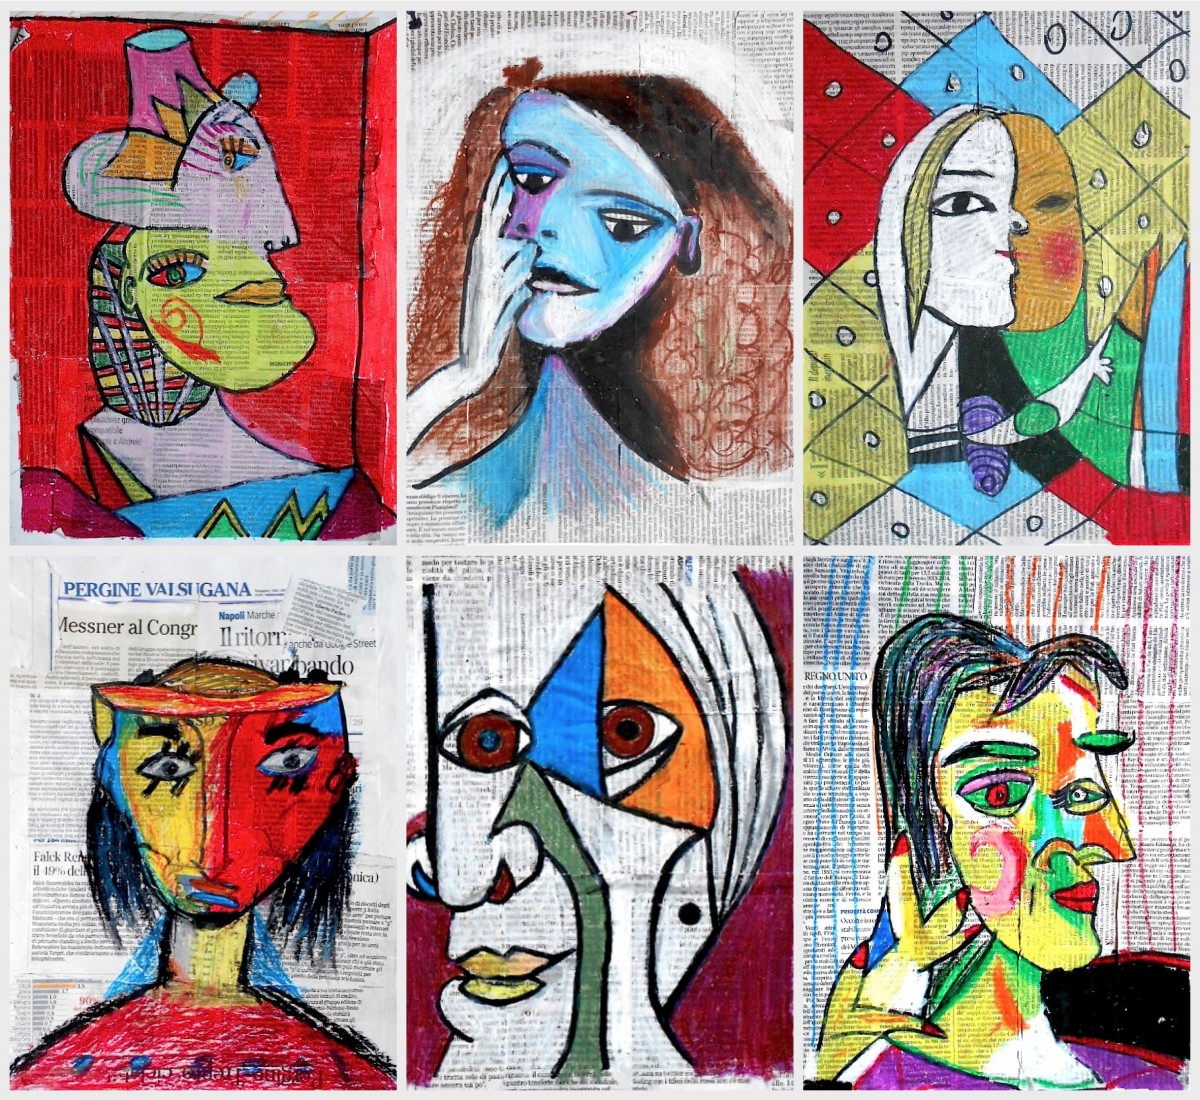
  • Picasso Inspired Multiple Perspectives- Copy/paste and combine two portraits together using Adobe Photoshop. Blend the two or more portraits to look like they are really one person.Try the eraser tool, lighting, blend, stamp, brush tool, different brush sizes and pressures.
  • Fractured/Cubist Portrait- Cut and paste parts of yourself so that you will appear to have multiple parts like a puzzle coming apart or exploding. You can try a weave pattern, or square shapes, or more erratic shapes. Try using the drop shadow to make the pieces look like they are physically there. [25+ cut and pasted parts]. Include a background that will appear behind the parts you cut out. What would be inside of you
  • Textured Portrait- Select using the square marquee tool and add a different filter to different areas of yourself. You can use more than one filter effect to each area. Try 50+ different filters and combinations.
  • Cracked/Monty Python Inspired Portrait: Make what is inside of your head explode out of it. Cut off the top of your head and have different interests, parts of your personality pop out. You will have to copy and paste then scale the items that you choose.


Thursday, November 12, 2015

Pablo Picasso and Cubism

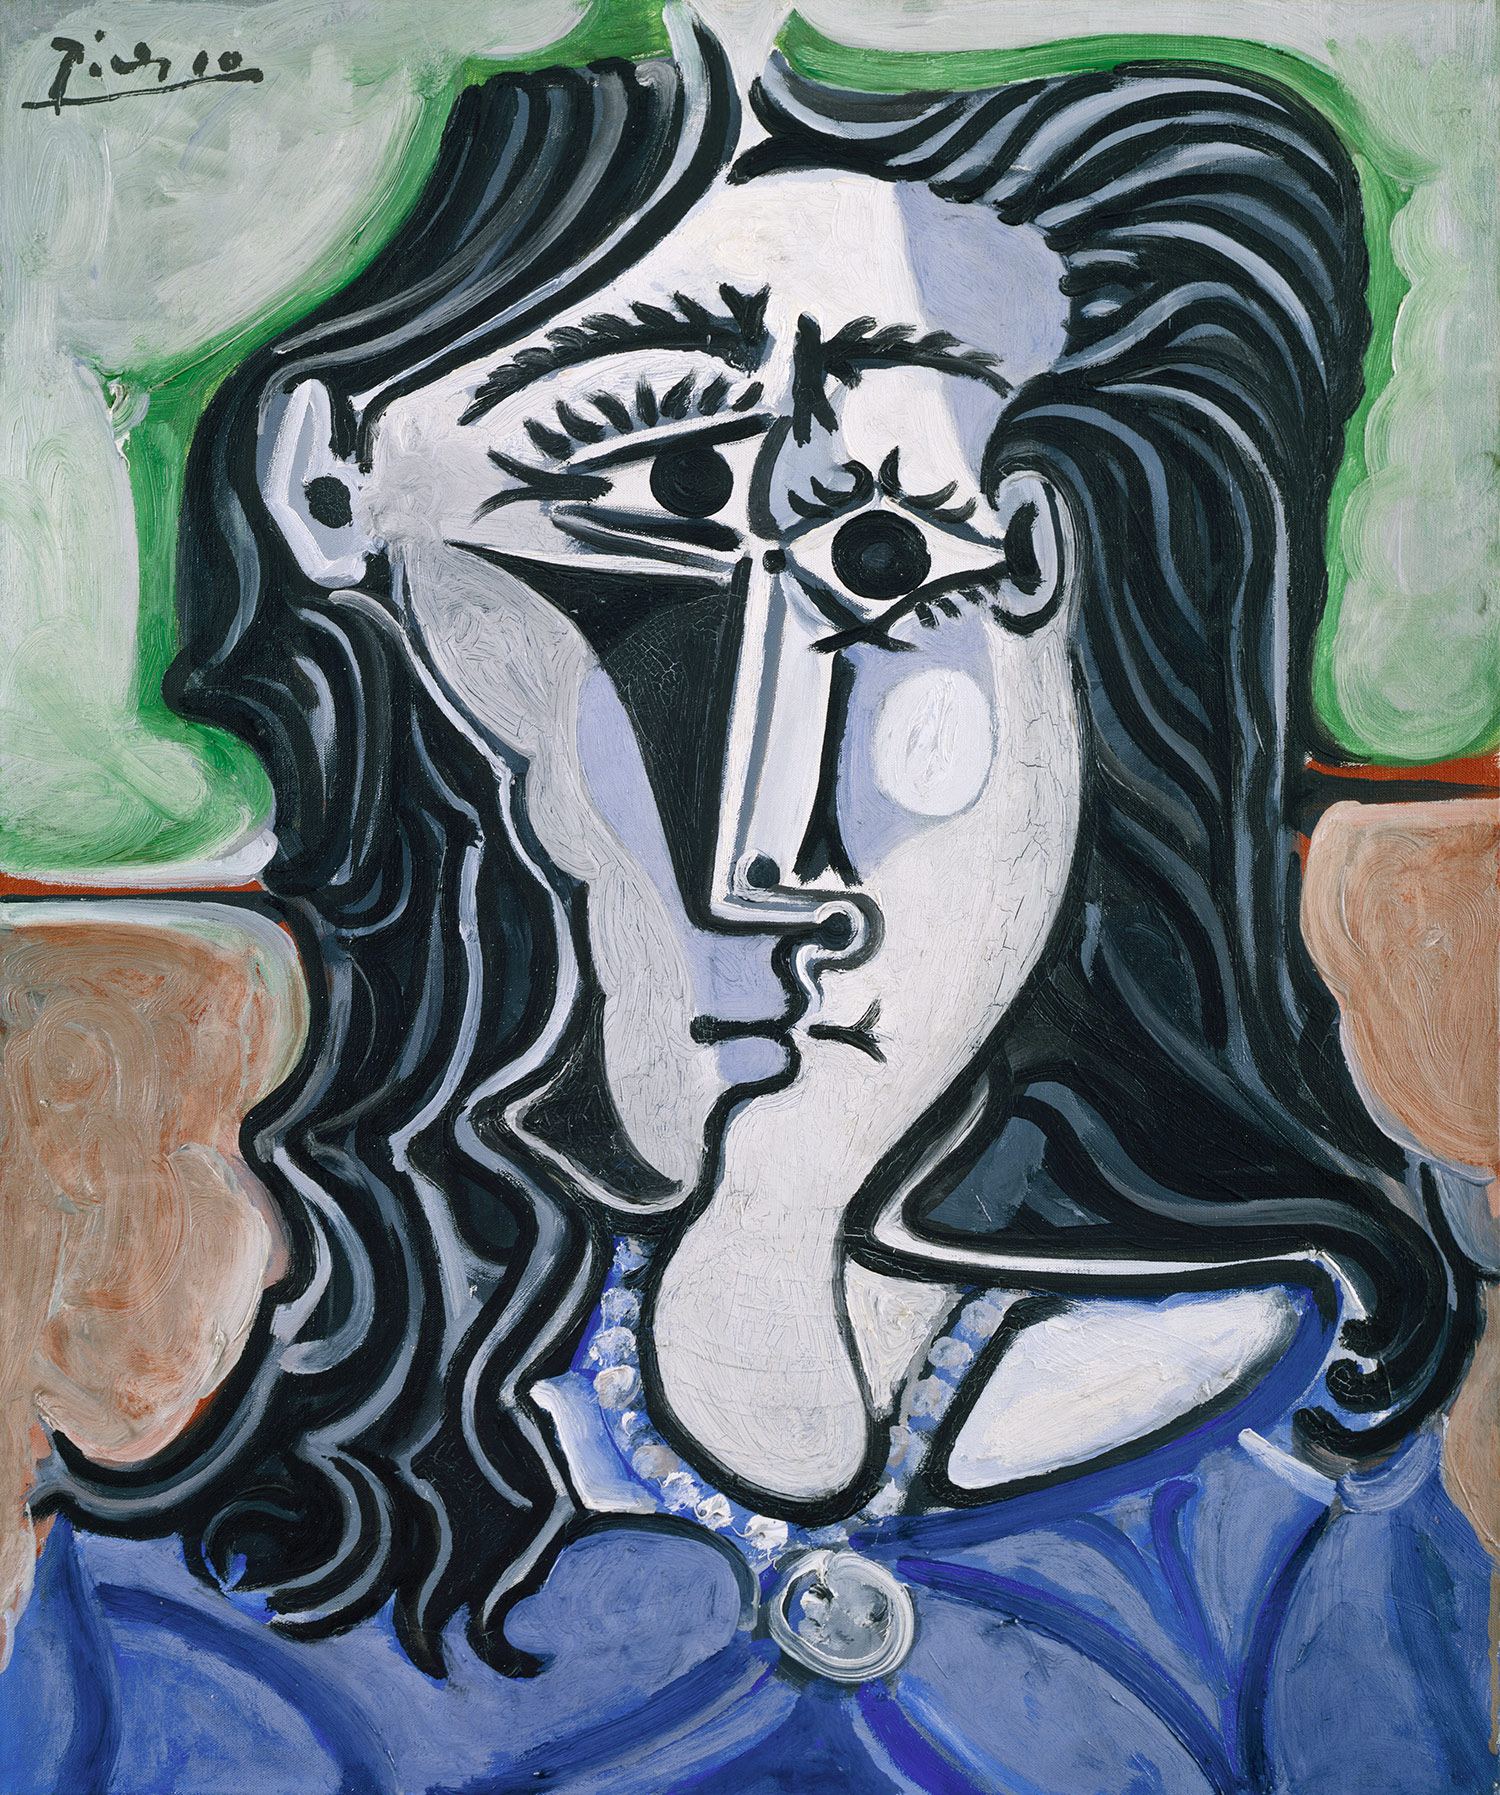
Pablo Picasso was a Spanish painter, sculptor, printmaker, ceramicist, stage designer, poet and playwright who spent most of his adult life in France. As one of the greatest and most influential artists of the 20th century, he is known for co-founding the Cubist movement, the invention of constructed sculpture, the co-invention of collage, and for the wide variety of styles that he helped develop and explore. Among his most famous works are the proto-Cubist Les Demoiselles d'Avignon (1907), and Guernica (1937), a portrayal of the Bombing of Guernica by the German and Italian airforces at the command of the Spanish nationalist government during the Spanish Civil War.

Guernica
Cubist Portraits with Collage
Picasso Assignment 1:
Find a "Cubist" painting by Pablo Picasso and post it to your blog. Write a brief outline bio of who Picasso was. Then define Cubism (in your own words).
Then have your portrait taken in the LFAS Photo Studio (Side profile and front).

Information about Picasso: www.pablopicasso.org
Check out this fun Picasso link: http://www.picassohead.com/

Wednesday, October 21, 2015

Assignment Check List

Make sure you have the following assignments posted to your blog:
  1. Banner and banner adaptations, Wordle to finished piece.
  2. Illustrator Tutorials- Pear loaded to blog, Tutorials saved to Share folder [or guest if you didn't have an account yet].
  3. Morphed Letter. [10s only].
  4. Illustrator "Critter" Drawing [ 10s with chosen image].
  5. Illustrator "Critter" Drawing Reflections.
  6. "Critter" Drawing with background. Save to Critter Share folder for a class sharing.

Wednesday, October 14, 2015

Final Creature Illustration

Export your final critter illustration [without the original/template and without the background]. EXPORT as a PNG (retains the color better).
Post your critter to your blog.
Write a brief reflection about your critter illustration; include the following prompts:
  1. Why did you choose this illustration to trace? 
  2. How did you adapt your drawing? What colours (or swatches) did you change?How did you select the colours?
  3. Did you change any parts to the animal? If so, why? or if not, why not?
  4. How does this drawing represent you? 
  5. What sort of challenges did you have in learning how to draw with Adobe Illustrator.

Wednesday, September 30, 2015

Illustrator Drawing Assignment: Dog, Cat, Bird

Use your new pen tool skills to trace a simple Illustrator. Choose one of the images.
10s select your own, but keep it fairly simple.
  1. Open a new Illustrator document.
  2. Then >file >place one of these simple images to your document
  3. Add a New Layer. from pop-down window on the layer pallet.
  4. Start drawing your image using the pen tool.
  5. Add your own final touches.


Monday, September 21, 2015

10s- Morphing a Letter


Direct Selection Tool
  1. Choose a letter simple sans serif font first Letter of your first name, or last name.
  2. Then make the letter a graphic object by:
  3. SELECT the letter with the SELECTION TOOL.
  4. Then go to OBJECT> CREATE OUTLINES, ~or EXPAND.
  5. Use the DIRECT SELECTION TOOL to reform the letter style. Click on points to re-shape10 times to create another shape/image.
  6. With each reformation, save the change and then select the form, 
  7. COPY and PASTE the new shape to make the next change 
  8. Make 10+ variations of the letter. 
  9. This is a doodling exercise; be creative, and remember to save each different steps.